
Design your event's page
Make your event's page on your website look its best, from a suggested look to the words, image, colors, and header design.
Every event you create gets its own page on your website. Here's how to make it look its best: start from a suggested look, change the words, image, and colors, and fine-tune the header. Let's get started!
How your event's page works
Each event's page starts from the event itself: a header with its name, dates, description, image, and a button to buy tickets. Like the rest of your Stageworks website, it uses your site's colors, menu, and footer.
You'll make most changes on the Event page design card on the event's Overview. For the rest, click Open in page editor on the card to open the page in the editor you use for your website's other pages. A few things to know first:
- You're changing the page, not the event. Leave the headline or summary empty and the page uses the event's name or description.
- The page has its own image. Changing or cropping it here doesn't touch the image on your event's cards and listings. Once you pick a page image, it stays, even if you change the event's image later.
- The page goes public when the event does. Until the event is published, visitors can't see its page.
Pick a suggested look
Suggested looks are ready-made header designs, chosen to suit your event's image. A look sets the design and colors, and keeps your words and image.
- Step 1:
Click Ticketing in the sidebar, then Events, and click your event. It opens on Overview.
- Step 2:
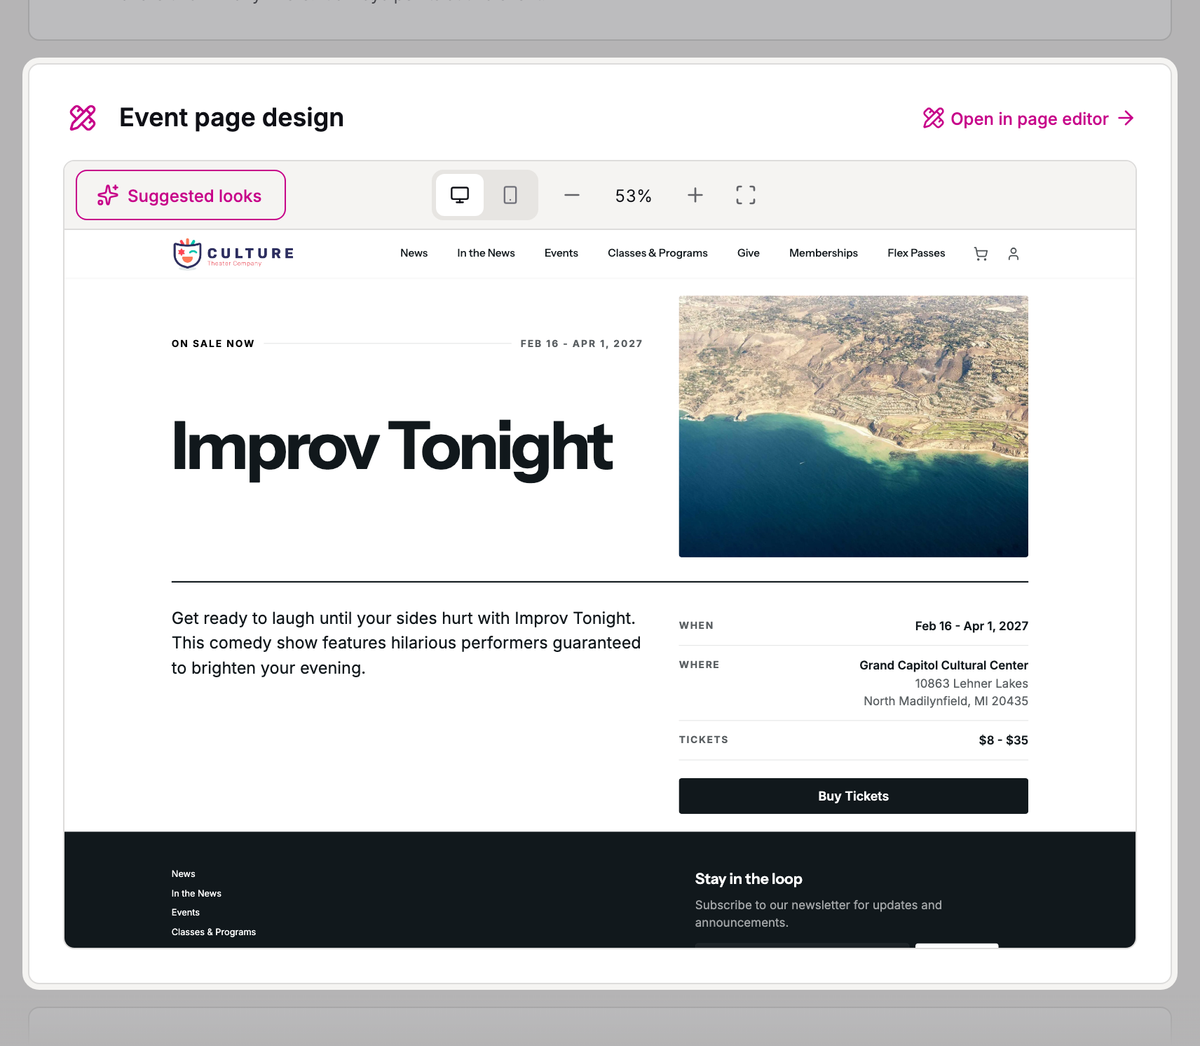
Scroll to the Event page design card. It's a live preview of your whole page.
- Step 3:
Click Suggested looks, at the left of the card's toolbar.
- Step 4:
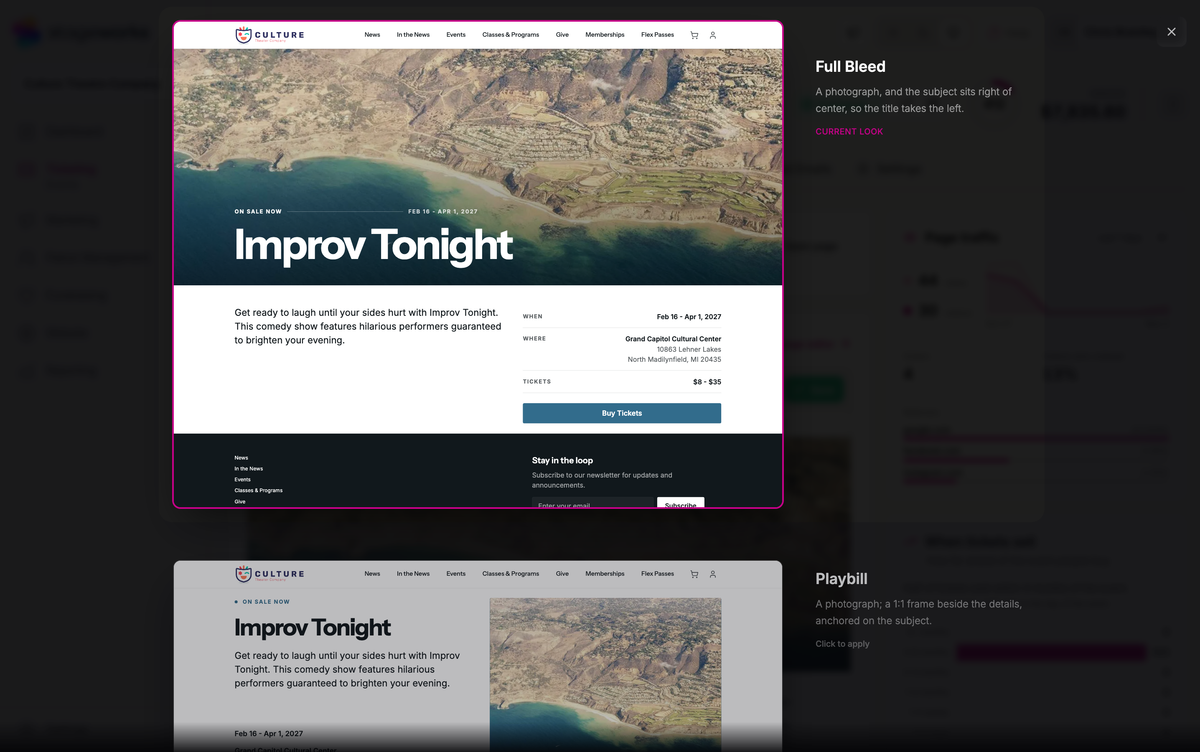
Each suggestion is named for its design and shows your whole page in it, with a line on why it suits your image. Current look marks the one you're using now.
- Step 5:
Click the look you want.
Each look uses one of three designs:
- Headline puts the words first, with the image beside or below the headline.
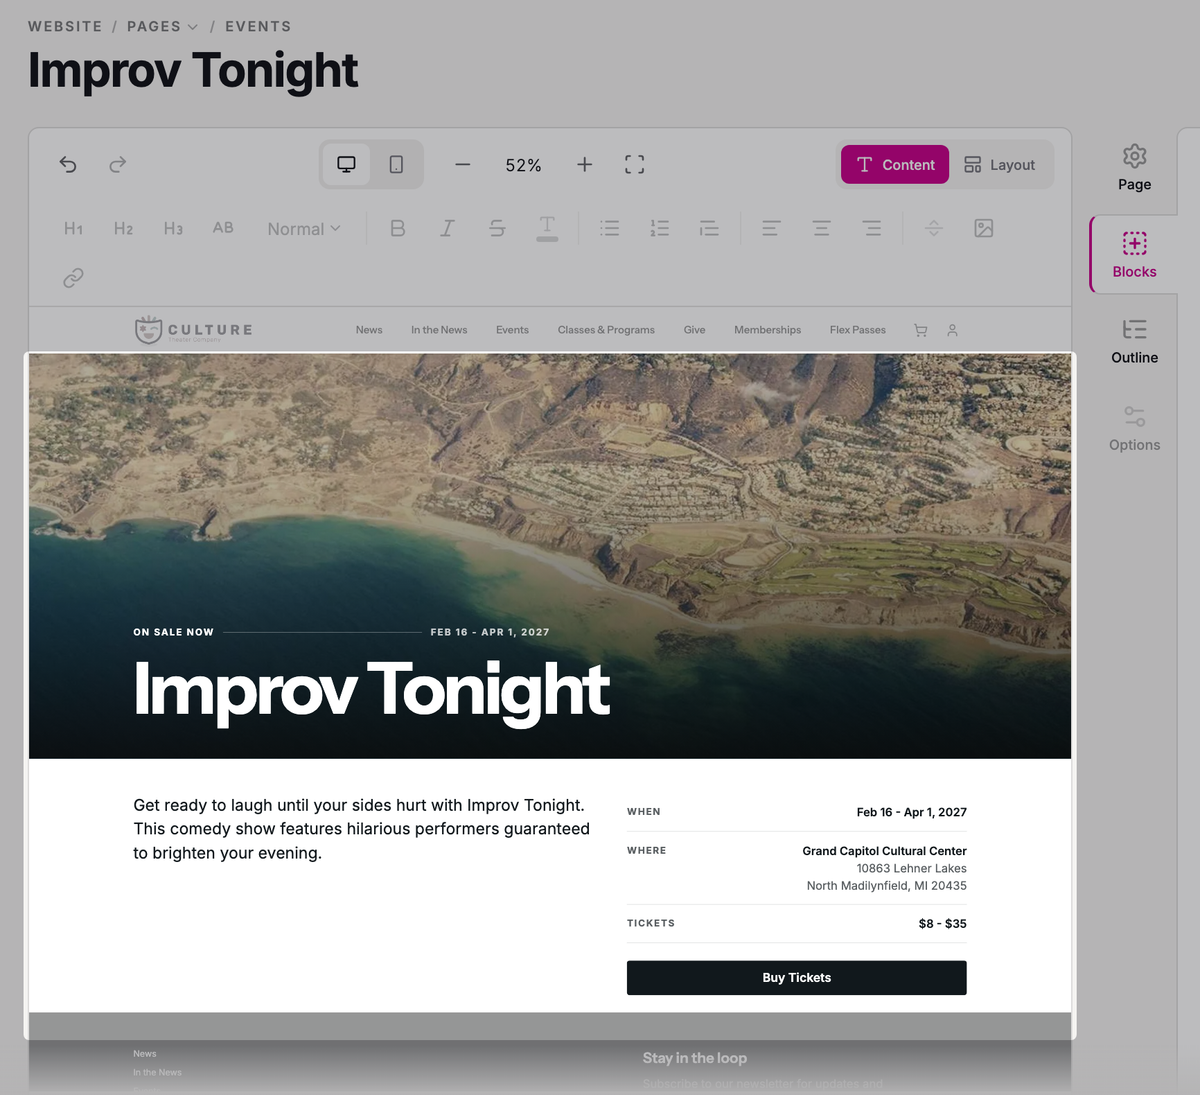
- Full Bleed stretches the image across the full width of the page, with the headline over it. It looks best with a large, wide photo.
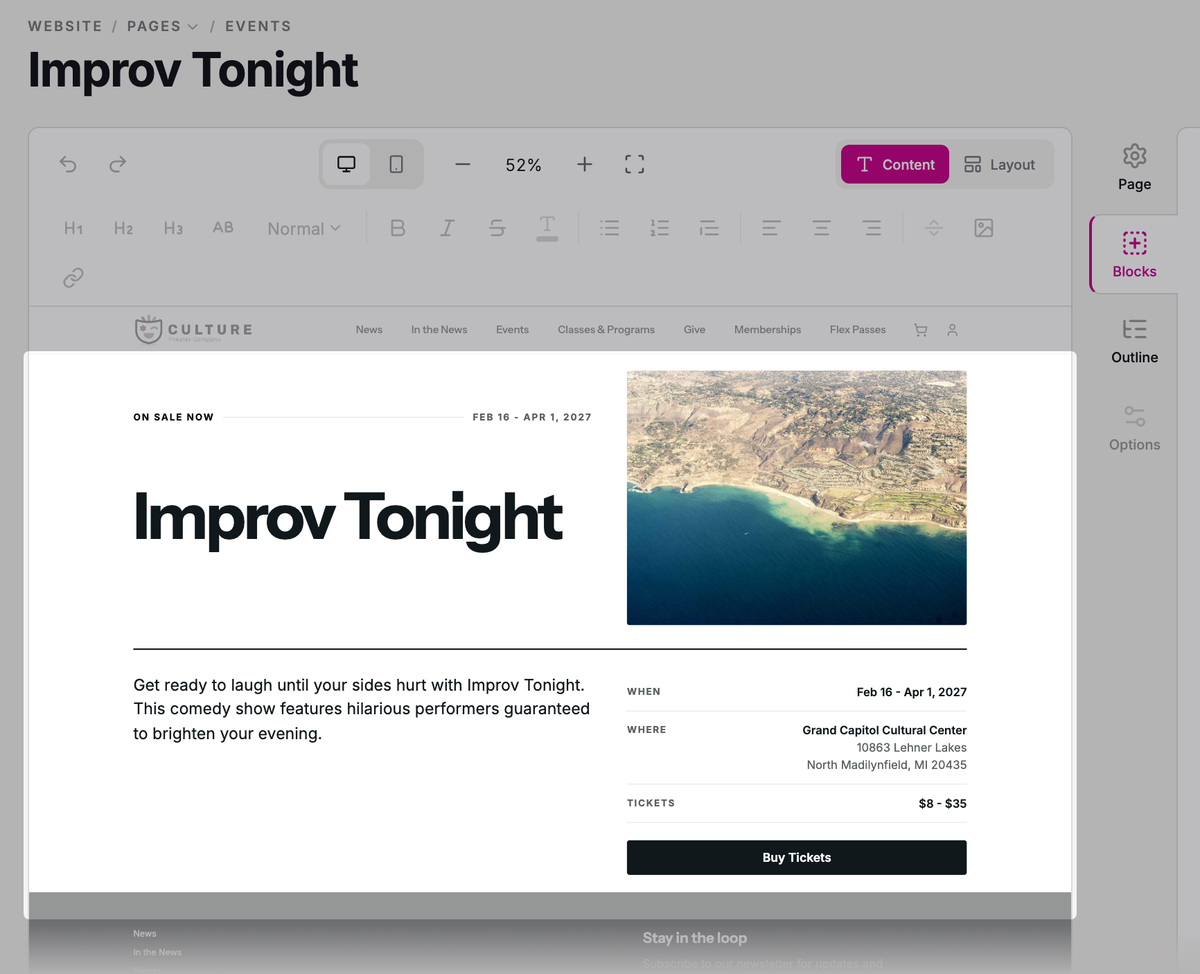
- Playbill frames the image like a poster, beside the details, or above them for a wide image.
Nothing goes live yet: you'll save once you've made the rest of your changes.
If your event has no image, you'll get three looks that work without one, and Playbill shows a poster made in your colors.
Change the words, image, and colors
Click the parts of the preview to change them in place.
The words
- Headline: click it, type, and press Enter.
- Summary: click it, write in Edit summary, and click Done.
- Status, the words above the headline, like "On sale now": click it to change the words or their color.
- Button: click it to change its Button text or color. Its text color adjusts by itself, so it stays readable.
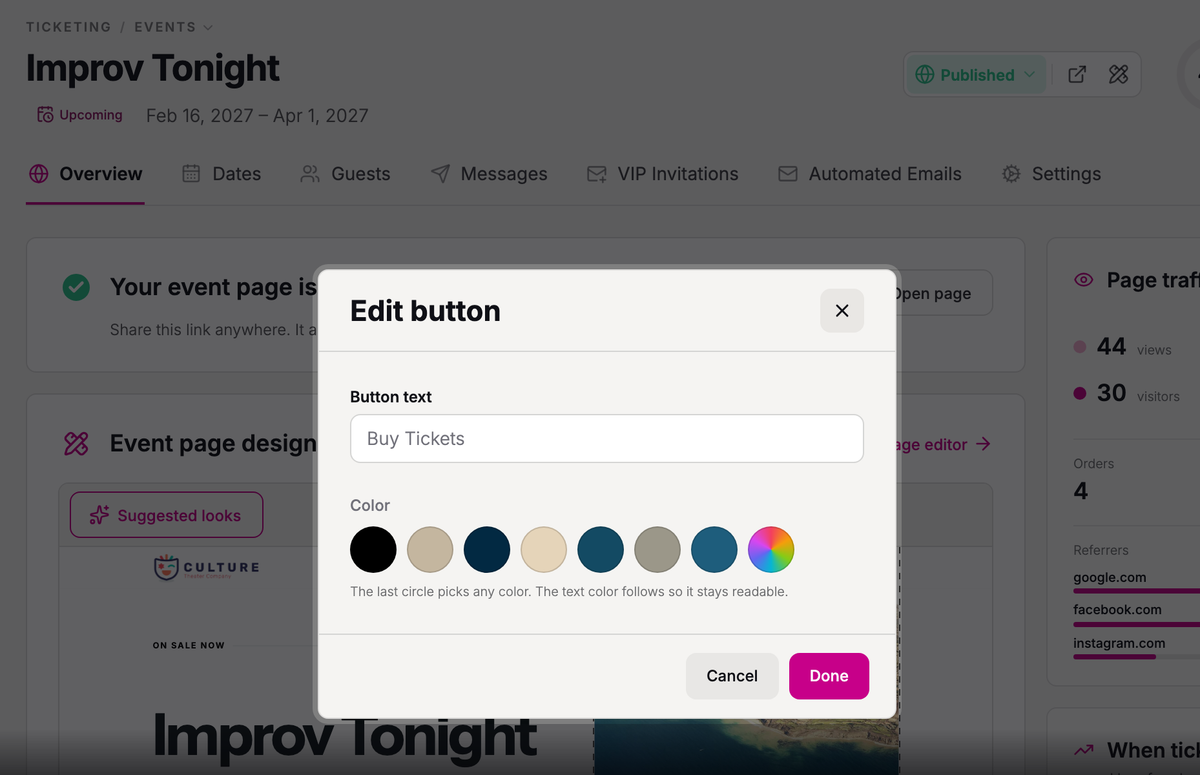
The color circles start with Theme primary, your site's main color, then colors from your image. The last one picks any color. To change your site's colors, see Make your website look like your brand.
The image
Click the image to choose another from your image library. To crop it:
- Step 1:
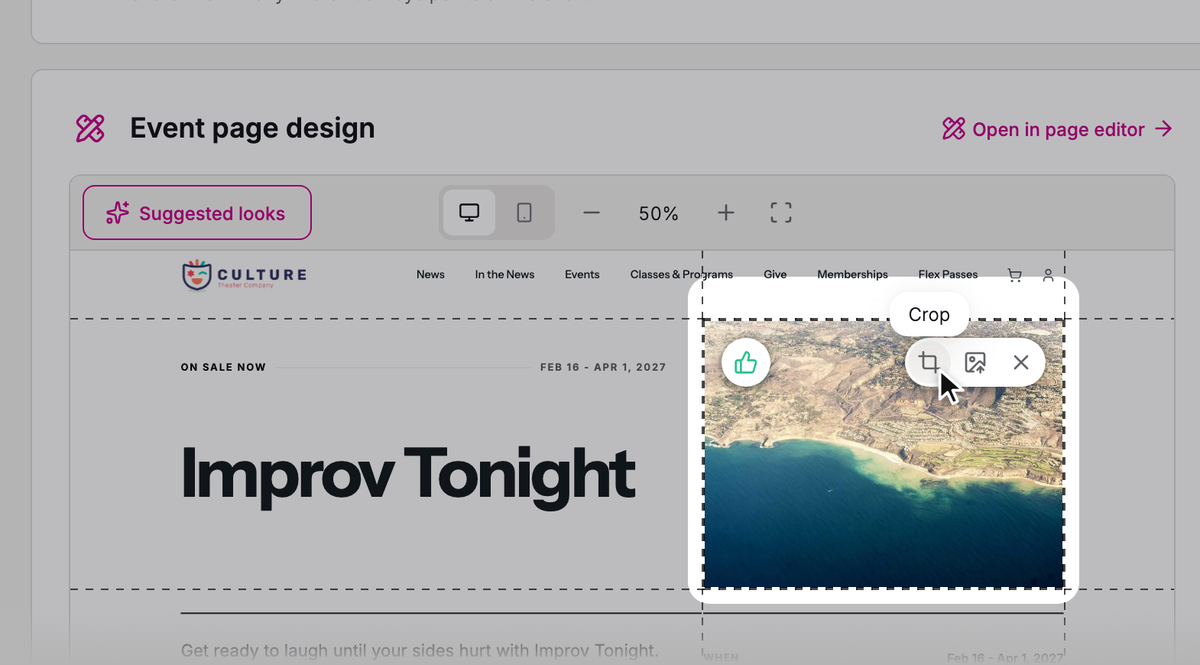
Hover over the image and click Crop.
- Step 2:
Drag the frame over the part you want to show. The first time, it starts at 80% of the image, so adjust it before you apply it.

- Step 3:
Click Apply crop.
With no image, hover over the header and click Add an image.
Your image's rating
Stageworks rates how well your image suits the header designs. Hover over the image and click the thumbs-up at its top left to open Image Analysis.

If there's a problem, like an image that's too small, you'll see an alert icon on the image and Image alert beside the card's title. Click either one to see why, and click Replace image to pick another.
Before you save, click the phone icon in the middle of the card's toolbar to see your page on a phone.
Save and publish
Nothing's saved until you click Save. To start over, Discard puts the preview back as it was.
- Step 1:
Click Save, at the right of the card's toolbar.
- Step 2:
If your event is published, Save changes? opens: click Save & publish to put your changes on your site now, or Save only to keep them unpublished for now.
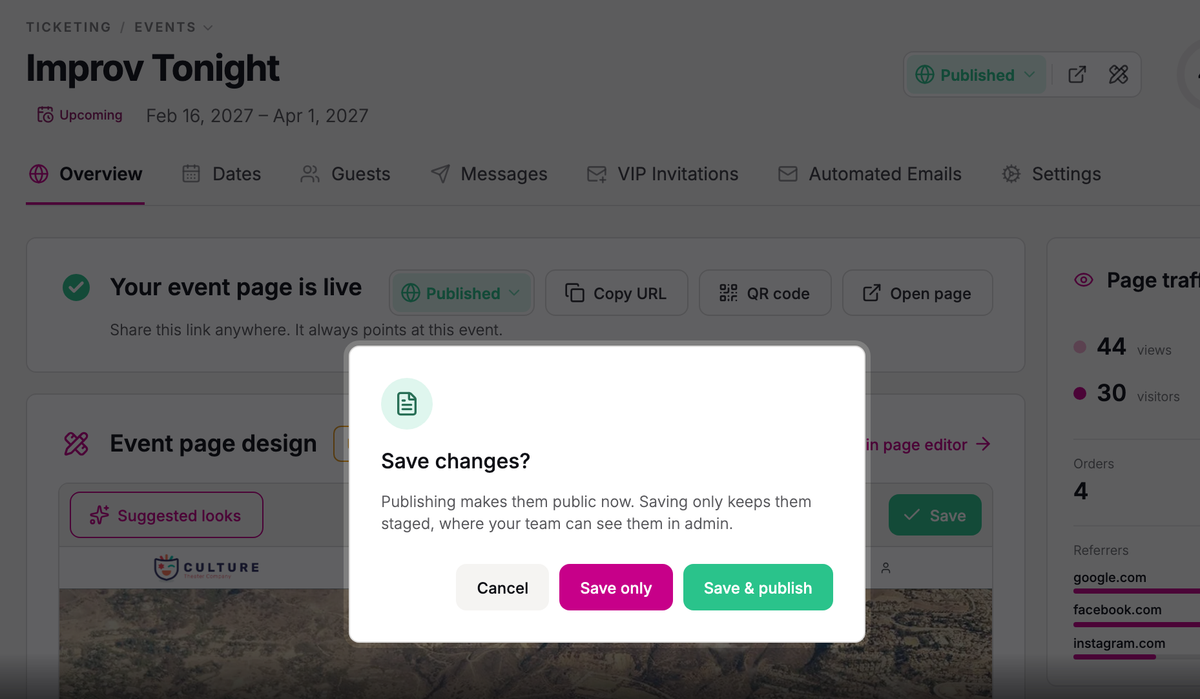
After Save only, your team can see the changes in Stageworks, and the card shows Unpublished changes. Click Publish in the card's toolbar when you're ready, or Discard to throw them away.
If the event is still a draft
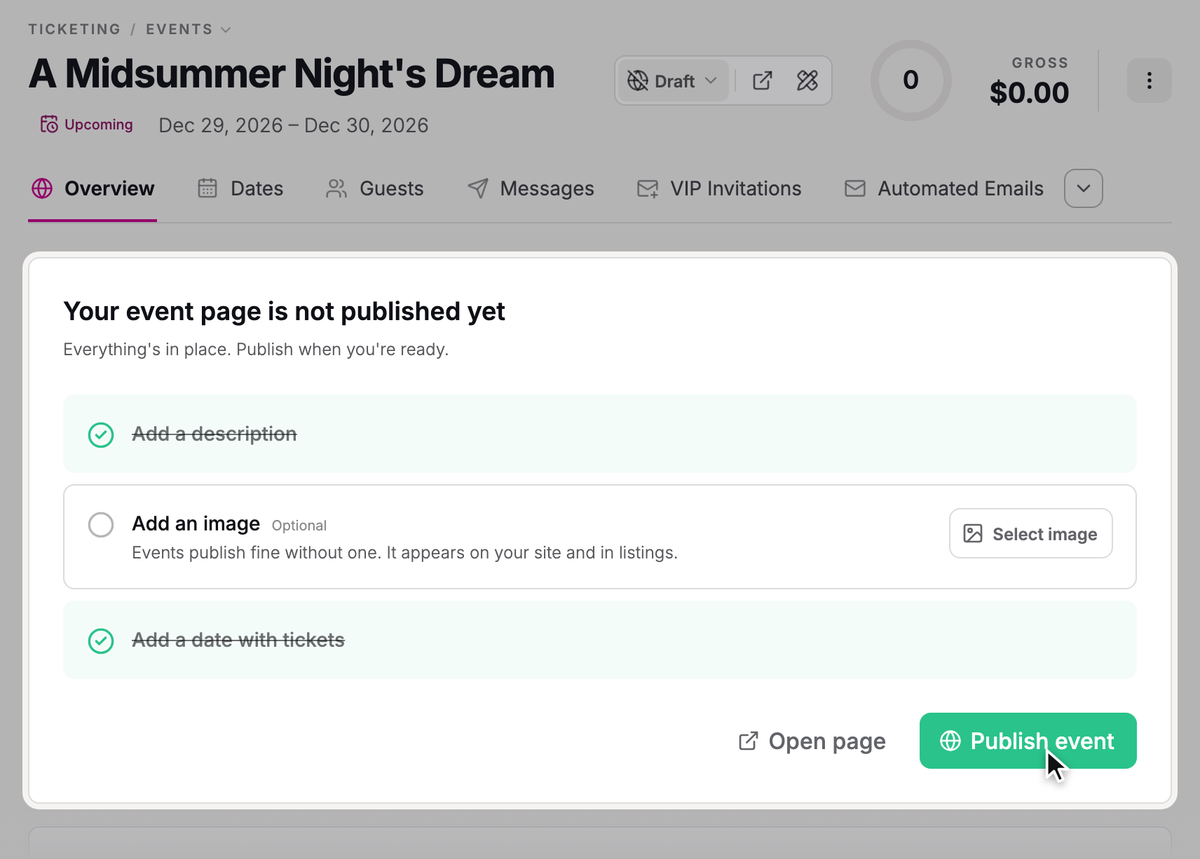
Save saves your changes straight away, with no box to choose from, and you'll see "Changes saved". They show once you publish the event itself: click Publish event at the top of the Overview when you're ready. See Create your first event.
Fine-tune the header in the page editor
- Step 1:
On the Event page design card, click Open in page editor. Save your changes on the card first, or you'll be asked to discard them.

- Step 2:
Click the headline on the page to select it, then open the Options tab, to the right of the page.
- Step 3:
Under Header design, choose a Design: Headline, Full Bleed, or Playbill.

Switching designs keeps your other settings, so try all three. Header design also sets the header's Alignment and its Background and Text colors.

The parts of the header
The header has five parts: Status and dates, Headline, Image, Summary, and Details and tickets. Click one to see its settings, or hide it from its row on the Outline tab. The settings you'll use most:
- Headline: Size and Color.
- Image: Position, Fit, and Corners. In Full Bleed, it's Scrim instead, which shades the image so the headline stays readable.
- Status and dates: Show dates, and colors for the status and dates.
- Details and tickets: switches for When, Where, and Tickets, and the button's Label and colors.
When you're done, save your changes just as on the card.
SuggestedEdit a page and publish your changesLearn the rest of the page editor, from adding blocks to checking saved changes on your site before you publish.Was this article helpful?